
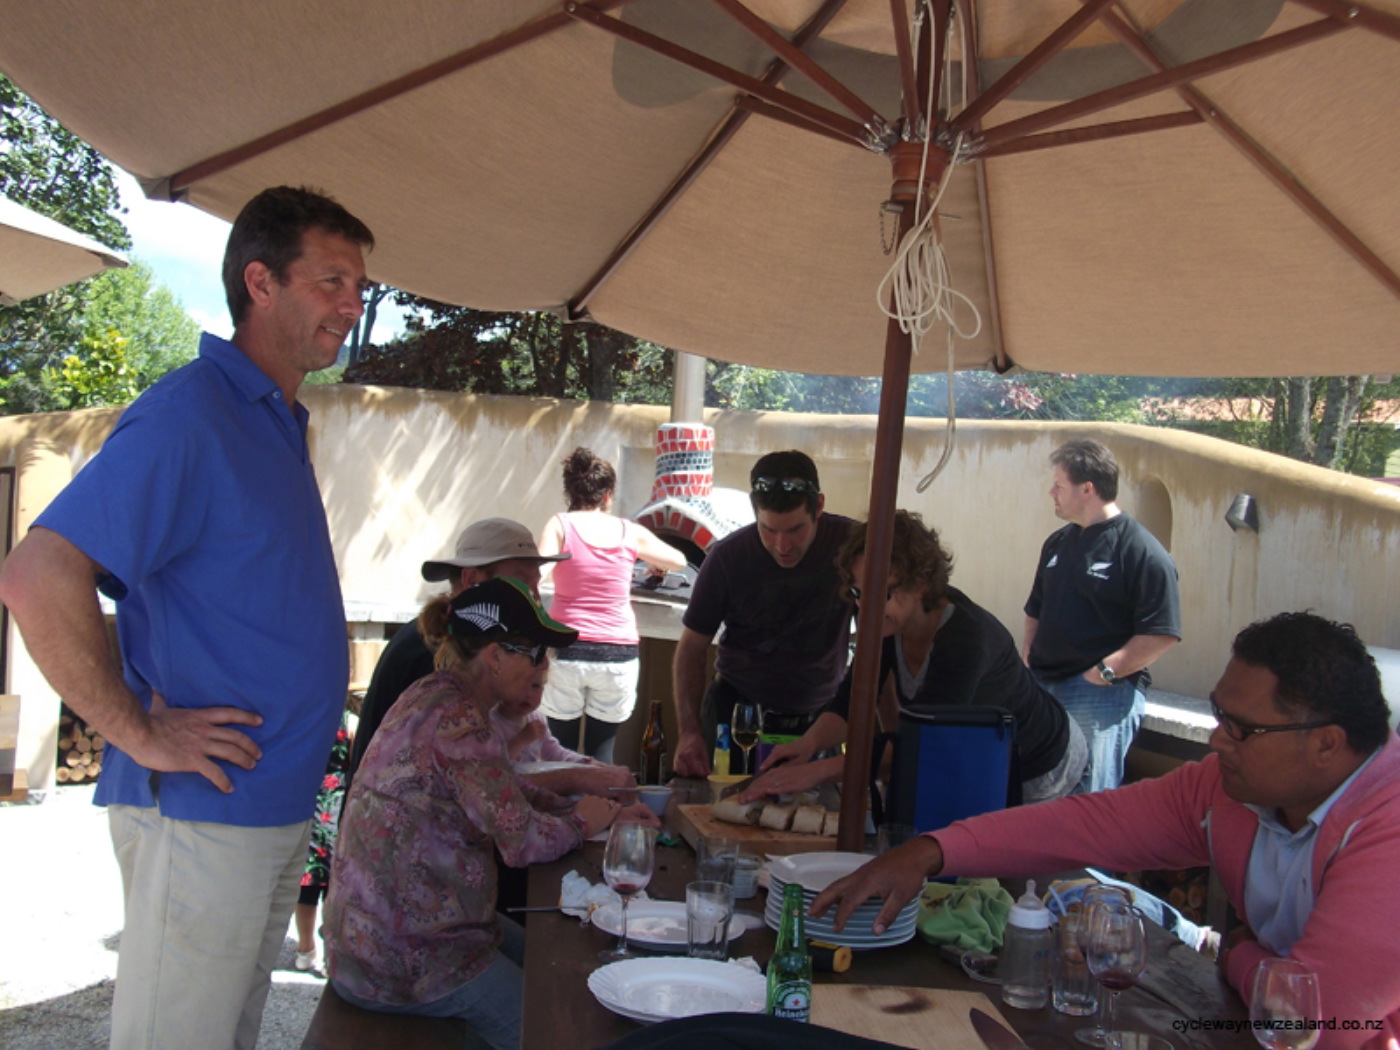
The Pizza Oven adds a great flavour to social events. Groups are welcome to use the Pizza Oven during the warmer months. This needs to be pre-arranged, so that there is suitable wood and oven start-up times have been factored in to the meal planning. We do charge a small additional fee for the use of the oven, to cover the cost of the specific wood for the over, and us starting up the oven in advance (if required). Cost $35 incl gst.
The basics of using the Oven
- Oven takes 1 ½ hours from start-up to reach full cooking temperature of 350 degrees – so plan your fire starting back from that
- Use the kindling in the basket and paper to start the fire at the mouth of the oven – door can be shut with vent open if you wish
- Note handle on door getting very hot with fire at front – use oven mitt for your hands
- Keep a close eye on fire for first ½ hour to ensure good start up and start adding Manuka kindling (below oven) to keep fire going
- Once fire is well established this can be pushed back with “fire hook” tool, into the main part of the oven. Add more wood and check on it every 20mins or so (door can be shut – vent open) during the heating up process
- Checking temperature when ready to cook – laser thermometer – do not point directly at fire, but at interior walls of oven – should be 320 – 350 deg
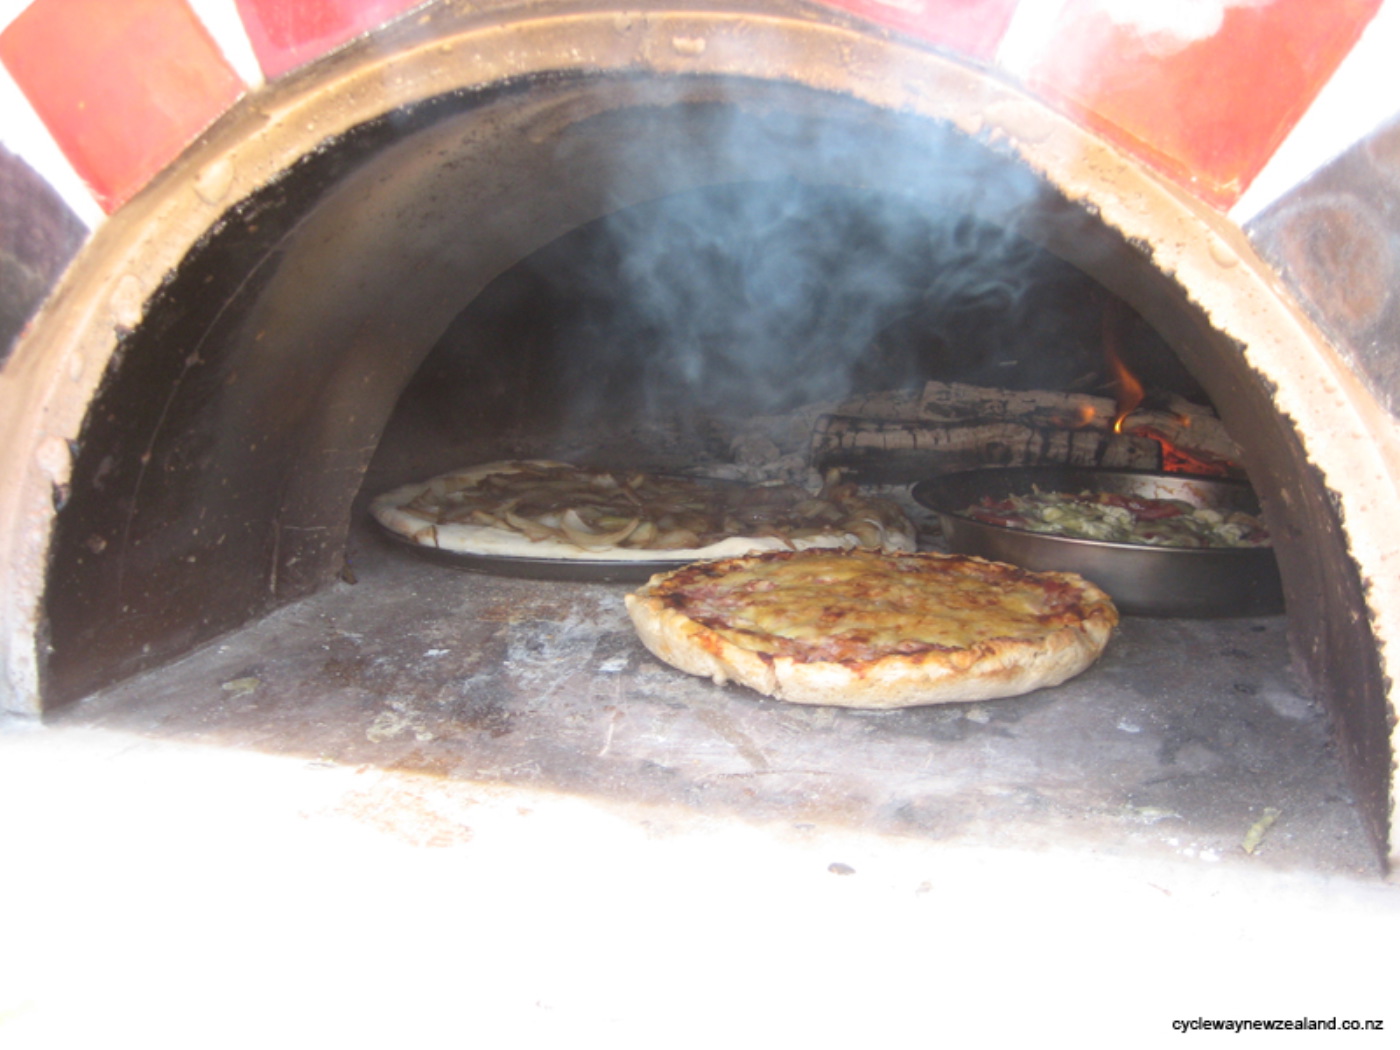
Cooking
- Pizzas get cooked directly on the concrete base (unless they are homemade bases – these can be too sticky sometimes)
- Push fire to side with hook, and clean the base by blowing ash into fire or back – Pipe provided
- Slide pizzas (2 is good) into oven
- Side closest to the fire cooks quicker, turn the pizza every minute or so for even cooking and avoid burning
- Takes about 3-5mins
- To cook top only, not base if still not ready – lift pizza up towards top of oven for 30 secs or so as the heat is high up here
- The fire can be moved after 3 or 4 sets of pizzas if you want to keep cooking on the hottest part of the base (under fire) – just remember to clean off ash with blower
- Keep fire flame alive by adding a piece of wood about every 20mins
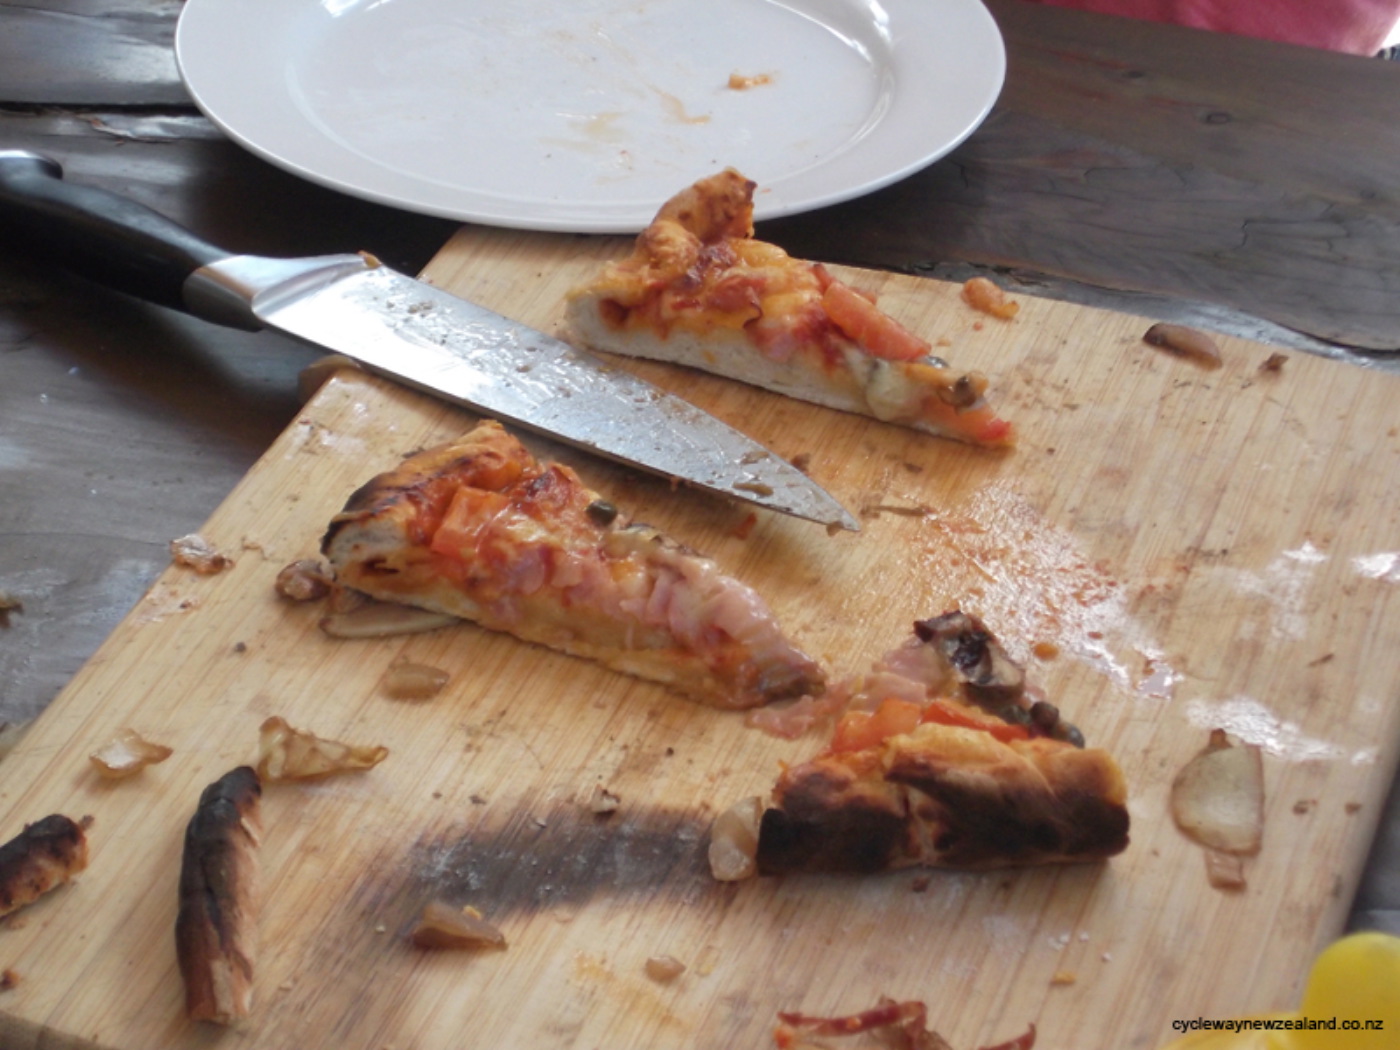
THEN ENJOY SOME GREAT TASTY PIZZAS
Note: we also have cooked sausages, smoked salmon on a cedar board (pre-soaked) baked bread and even a cake – the options are limitless.
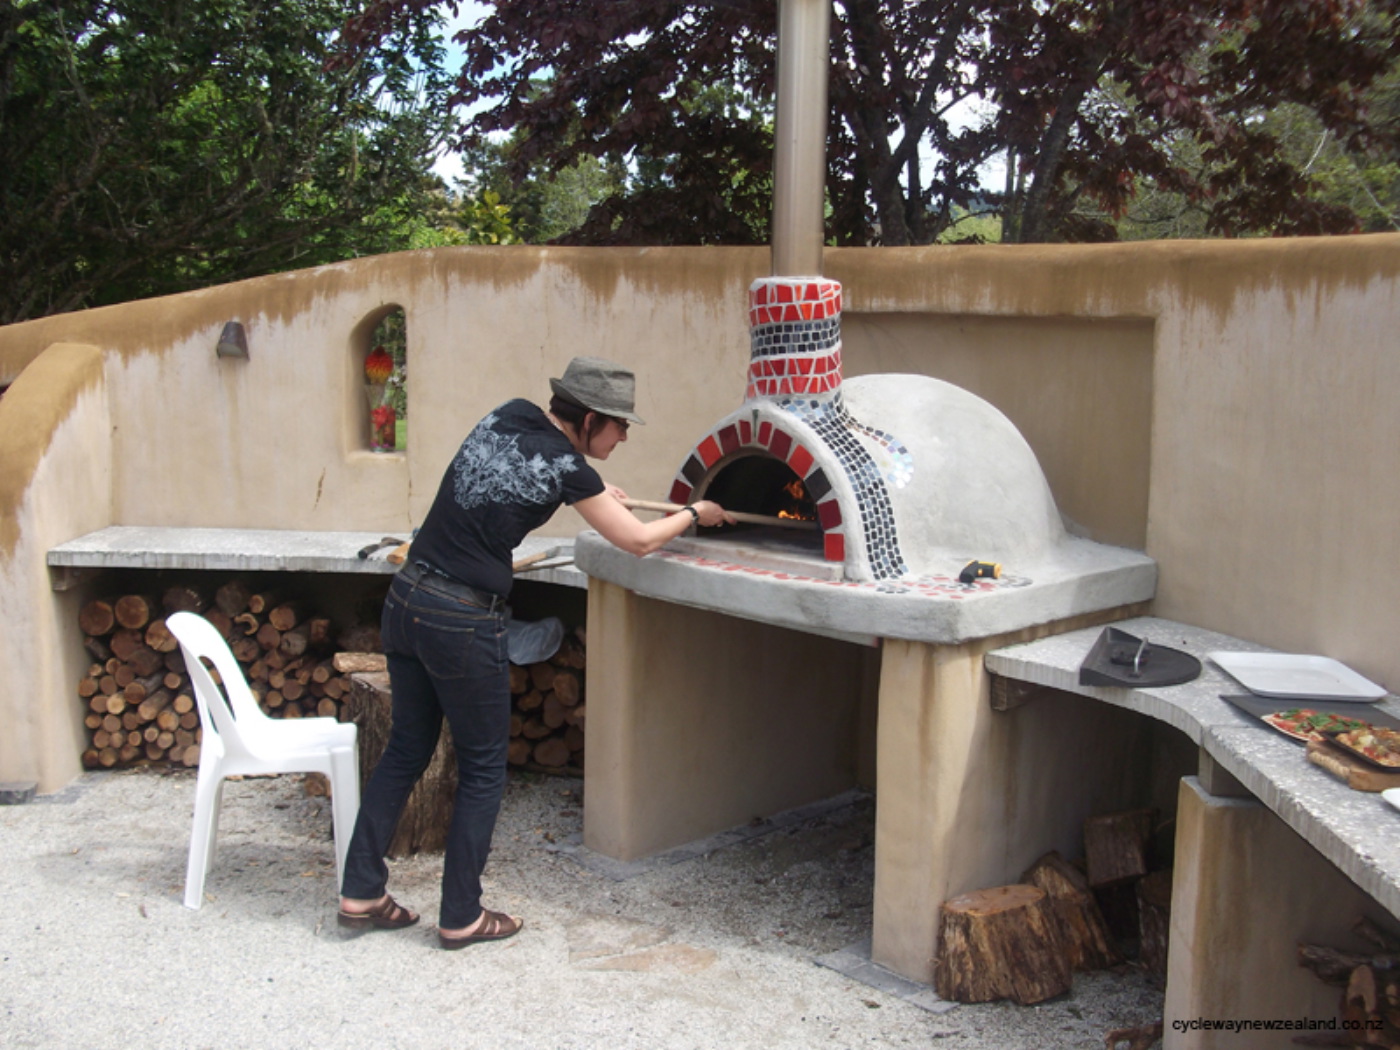
We built our Pizza Oven from a kitset purchased from Mi Pizza www.mipizzaoven.co.nz– based in Mt Albert, Auckland. The guys installed a suitable base within our courtyard, and put together the basic kitset very quickly. Over the next couple of days, I helped Tony (one of the Mi Pizza guys) layer up plaster and shape the oven till it looked just right.
The beautiful tile design took me somewhat longer, the vision had to be realised – I was lucky that October 2011 had some great weather. Once finished we cured the oven over about 10 days, then had a fantastic weekend of family and friends over two days testing out recipes and techniques for getting the best results of great PIZZAs (and other interesting foods).

Building the Oven